A pop-up video provides a richer and more immersive experience for readers, as it combines visual and audio elements to create a more dynamic presentation. In addition, it can help clarify complex concepts and provide more understandable content to readers with text dyslexia.
Next, let’s see how to add a [Wyskakujące wideo] action to an element.
Kliknij element na płótnie -> kliknij [Działania] in the properties panel -> select a triggering timing -> [Wyskakujące wideo] -> select a video type
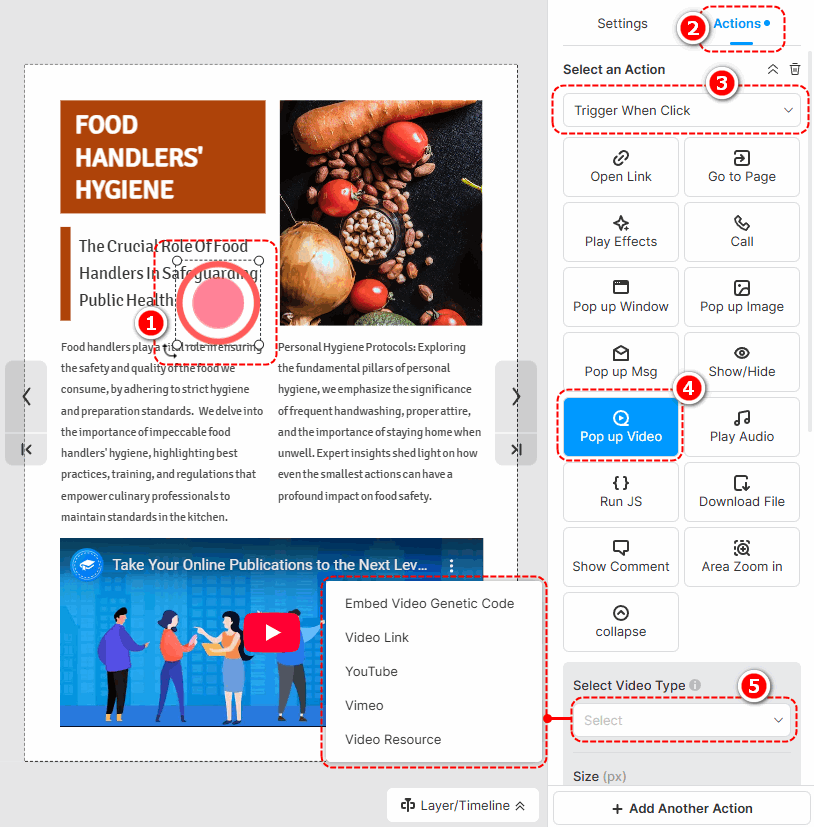
The following are the cautions for adding different types of pop-up videos.
- Embed Video Genetic Code: Paste an embed code of a video.
- Video Link: Use an online URL of a video to add a video.
- YouTube: Paste a YouTube video ID or URL to add a video.
- Vimeo: Paste a Vimeo video ID or URL to add a video.
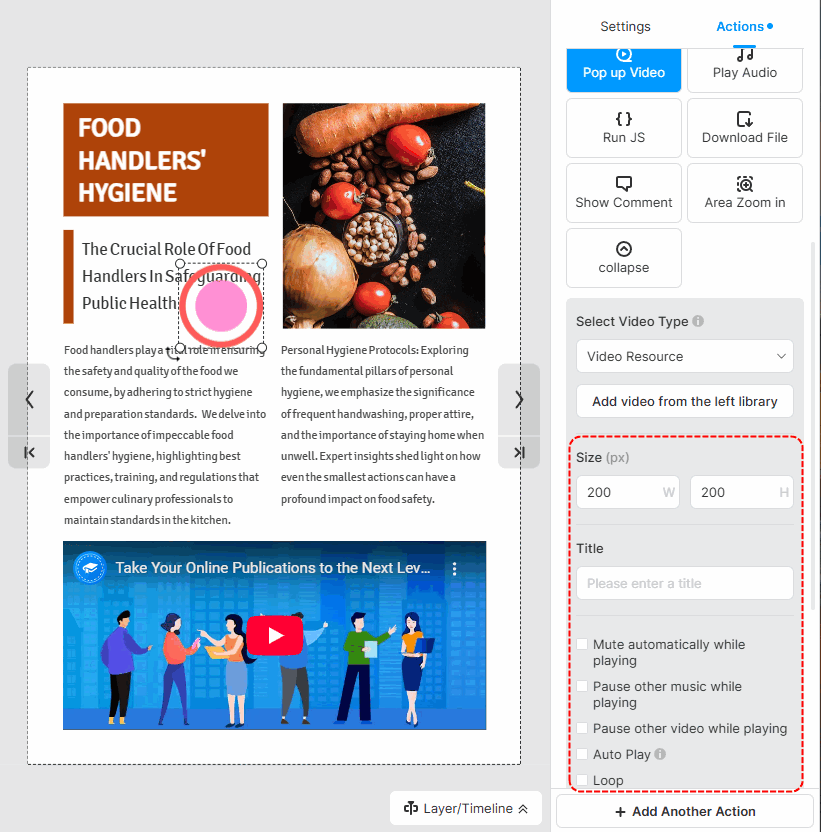
- Video Resource: Kliknij [Dodaj wideo z lewej biblioteki] to add a local video. (Check out how to upload a local video)
After successfully adding a video, you can set the size of the video, write a title, and choose its player settings.
▎Uwaga:
1. Added videos by embedding the video genetic code are not allowed to customize player settings.
2. The YouTube and Vimeo videos are muted by default. So if you tick [Auto play] for those videos, you should manually turn their sound on when playing.
Terminy związane z artykułami:
wyskakujące wideo, wyskakujące media, personalizacja wyskakującego okienka, projekt wyskakującego okienka, elementy interaktywne, interaktywne flipbooki, zaangażowanie użytkownika, rozmiar wyskakującego okienka, style wyskakujących okienek, dodawanie elementów wyskakujących okienek, edycja wyskakujących okienek elementów, wzbogacając multimedia, zwiększając interaktywność


